

How To Apply Venetian Plaster: A Step By Step Guide To Burnishing Veneziano To A Mirror Sheen

Venetian plaster is one of the oldest and most rewarding decorative finishes you can put on a wall. This guide walks you through applying the final polished coat of Vasari Veneziano and burnishing it to a mirror sheen over two base coats that are already dry. Every technique detail here comes from hands-on application of the material we make.
Key Takeaways
This guide covers the final polished coat of venetian plaster using Veneziano.
The application technique relies on very thin passes, small working areas of 2 by 2 to 3 by 3 feet, and burnishing when the surface is no longer sticky or wet.
-
Trowel choice and edge preparation are critical: an 8 to 12 inch trowel with perfectly smooth edges will prevent scratches and allow a clean mirror finish.
-
Two base coats form the foundation. The final coat is built from two thin passes, with an optional fourth pass to adjust movement or open time.
-
The finished surface dries in a couple of hours, feels very smooth, and can be left as is or enhanced with Vasari Wax if desired. Adding wax will enhance color variation and protect the finish.
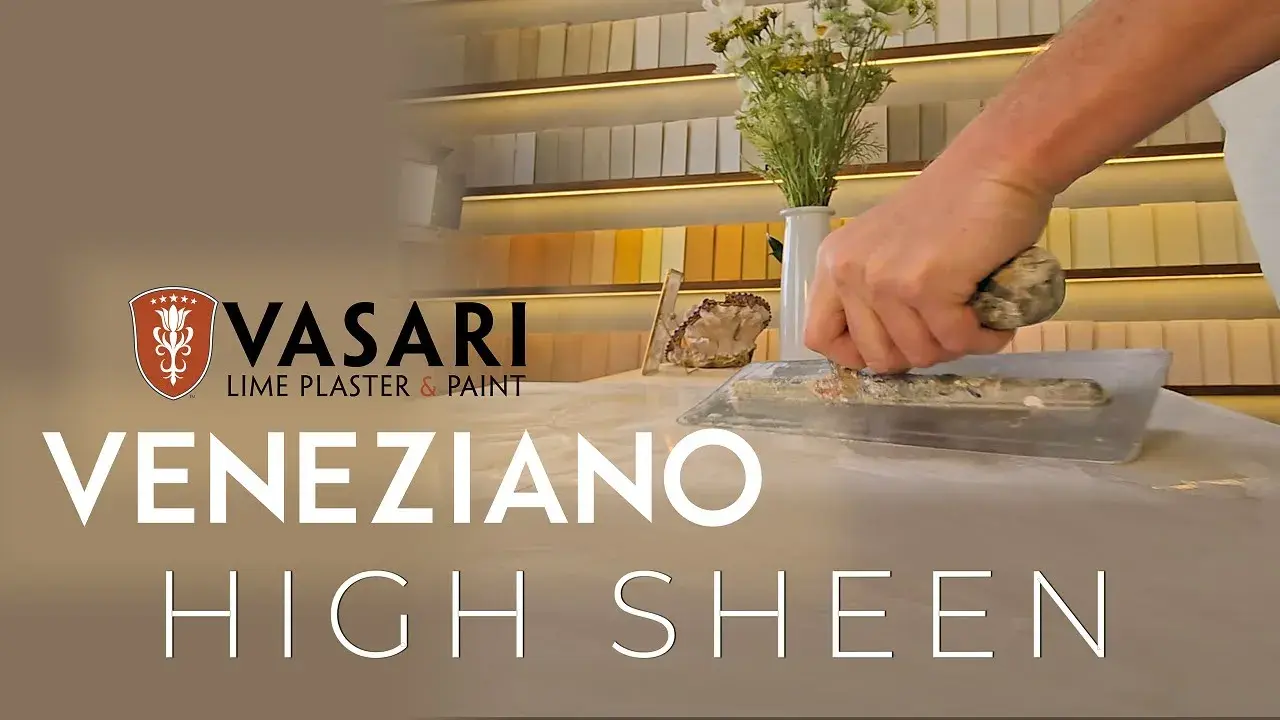
(Click here to see our YouTube video : Vasari Veneziano High Sheen)
Understanding Veneziano And Polished Venetian Plaster
Veneziano is our fine venetian plaster, made from lime and very fine powdered marble. It is built for very smooth, highly polished finishes on interior walls and ceilings. This article covers the burnished version: a tight, compacted surface with strong reflection and visible movement. The same technique works for any Veneziano color.
Venetian plaster is a thin lime plaster finish typically applied with a trowel. It can range from soft movement with a little sheen to a high polish, mirror like surface. Traditional venetian plaster cures through carbonation, a chemical process where lime reabsorbs carbon dioxide over time, creating a surface as hard as the stone it came from. The technique traces back to the Renaissance period, when Italian craftsmen discovered that combining slaked lime with fine marble dust produced a decorative finish resembling real marble.
Venetian plaster is made from natural materials, highly durable, and lasts longer than other finishes. It has anti-mold and anti-bacterial properties, which makes it a strong choice for living rooms, bedroom walls, and other interior spaces where the air quality is most important. Veneziano is a smooth, marble-like finish that adds depth and light reflection.
The guide walks us through the following: tools, surface requirements, the first coat, the polished finish coat, correct timing for burnishing to a mirror sheen, common mistakes to avoid, aftercare, options for sealing and color choices so you can get a professional result.
Different systems may have specific requirements for primer, coats, and sealers. For example, some methods call for a mineral primer for better adhesion, require you to prime new drywall with latex primer before the mineral primer, or specify that glossy surfaces require sanding before applying primer. Some systems allow primer to dry for 3 to 5 hours before plastering. Others recommend 400 to 600 grit sandpaper for final surface work. This article does not cover those steps because they fall outside the scope of applying Veneziano over prepared base coats.
To apply venetian plaster, build up two dry base coats of Veneziano on a properly prepared wall, then spread the final polished coat in very thin passes with an 8 to 12 inch flat stainless steel trowel over 2 to 3 foot sections. Burnish while the surface is still moist but not wet to the touch. This method is for homeowners, architects, designers, and builders who want a high quality polished finish on interior walls and ceilings, whether for a single feature wall or a larger residential or commercial project.
Tools, Trowels, And Surface Setup
Before you apply venetian plaster, gather the right tools and confirm your wall is ready. Proper surface preparation is crucial for venetian plaster application. The substrate must be flat, clean, dry, and structurally sound. Walls must be free of cracks, holes, dirt, grease, and imperfections, because smooth surfaces amplify any flaw once burnished. Keep a drop cloth down to catch loose material and drips, although clean up is easy with a wet rag. No cleaners or solvents are needed.
You will need:
-
An 8 to 12 inch plastering trowel (a stainless - steel trowel is standard for this work)
-
A small spatula to load plaster onto the trowel
-
A hawk if preferred
-
Good raking light across the wall
Trowel size matters. A 16 to 18 inch trowel makes it harder to apply enough even pressure for a strong burnish. A trowel under 8 inches makes it difficult to chase and polish an area efficiently, especially on a single wall or larger surface. Some people confuse a drywall knife with a plastering trowel, but they are different tools with different flex and edge profiles. The sweet spot of trowel size for most people is between 8-12".
Typical application of Veneziano starts with two smooth, dry coats of Veneziano already on the wall. The first coat should be fully dry before the second coat goes on so it will be nice and smooth. It is left unburnished, which creates a flat, even base. The entire surface should be uniformly coated and completely covered so the final passes can go on very thin.
Preparing The Trowel: Edge Condition And Comfort
A polished Veneziano finish depends as much on the trowel edges as on the plaster itself. This prep is not optional. Maintaining a clean trowel blade is essential to prevent scratches during application.
Run a fingertip along the entire edge of the blade, front and back. Feel for dings, nicks, or rough spots that would leave a scratchy finish, especially during burnishing. Even tiny scratches can produce visible chatter marks on a mirror sheen surface.
If you feel small nicks on the edge of the trowel, lightly sand both sides of the edge of the trowel until the metal feels buttery smooth. Any small defect will show clearly once the polished venetian plaster surface reflects light. Choose a trowel size that suits your hand and shoulder strength so you can hold steady, even pressure without fatigue.
Before committing to a full room, test your trowel on a couple of sample boards or a small wall first. A sample board should always be made to test technique before applying venetian plaster on the main wall. You will quickly find the weight, balance, and stroke angle that feel comfortable.
Base Coats: First Coat And Second Coat Setup
The polished look depends on starting from two well-executed base coats of Veneziano that are already dry. Multiple thin layers create a smoother and more visually appealing venetian plaster finish, so do not rush the foundation.
The first base coat is a thin, even layer applied across the wall. The first coat must dry completely so it forms a firm base that will absorb moisture from the coat above it. This may require a 24 hour period depending on the climate.
Apply a second base coat after the first coat dries completely. This second coat goes on nice and smooth over the dry first coat but is not burnished, leaving the surface pretty flat and ready for the final passes. You cannot skip ahead with one coat and expect the same result.
These two coats establish color and flatness. The final coat passes and the burnish create the sheen and character. Drying conditions can significantly affect venetian plaster application at every stage, so keep the room conditions consistent.
Final Coats: Step By Step Guide To Applying Veneziano
This is the core section on how to apply venetian plaster for a polished finish. The focus is on very thin passes that dry quickly and turn a flat wall into a mirror like surface. Thin applications improve the visual texture of the plaster, and application techniques should vary to create a natural look.
Rather than loading a hawk, use a spatula to place small amounts of Veneziano onto the trowel. The material dries fast on this coat and you do not want too much on the blade.
Work in 2" x 2" or at most 3" x 3" sections. The dry base coats pull moisture out of the new thin coat quickly. Larger areas dry before you can burnish them, making the timing much harder.
Fianl pass. Apply it very thin and tight. It is so thin that the base coat absorbs it almost immediately and you will see it dry up right behind the trowel. You are filling up blank spaces. There is no cross hatch pattern and no prescribed stroke direction. Use short strokes or longer sweeps in whatever direction feels natural. Chase the wet edge along as you go.
Starting mid-wall. Do not set the edge of the trowel down on the surface and begin a pass. That leaves a line. Dab a small amount of material down first, then trowel it out. This gives a natural start and stop, even near sharp corners or transitions.
Sometimes the final pass dries too quickly to burnish well and will not give a consistent sheen. Wait until the surface is no longer sticky or wet, then apply another very thin pass over the same area. This second pass evens out the movement and leaves a continuous face ready to burnish. This can be applied as part of the final coat stage. Use it to adjust the movement, or to gain more open time before burnishing. This helps while you are learning the technique.
Have patience. Slow down, focus on every single stroke, and keep checking the surface in the light as the Veneziano lays down. Venetian plaster requires careful monitoring of timing for effective burnishing.
Burnishing Technique For A Mirror Sheen
This is where the flat lime plaster wall becomes a polished venetian plaster surface. Burnish the final coat while the plaster is still moist but no longer wet.
Begin burnishing while the plaster is firm and responsive, no longer wet or sticky but not fully dried. The motion is smooth, overlapping strokes with a clean trowel, using steady light pressure. Unlike some decorative techniques that rely on a circular motion, burnishing Veneziano works best with directional passes that compress the lime and marble fines.
You do not have to use too much pressure. Results appear instantly. The sheen comes up as you burnish, with reflection and depth showing clearly the same way it would on polished marble.
If nothing is happening and the surface stays dull, it is probably too dry. Reapply another very thin pass, let it set, and burnish again. If the plaster feels wet under the trowel, do not force it. Forcing a wet area can crack it or even peel the surface. Wait a couple of minutes and test again. Some areas set slower than others. Burnish most of the section, wait, then come back to the slower spots.
Look at the wall in the light once in a while. Check the reflection to confirm the sheen is consistent so dull patches can be caught while the plaster is still workable.
The learning curve is short. It is very satisfying. On a small area you will quickly see the sheen come up and get a feel for the variation in the trowel strokes. Once burnished, leave the wall to dry a couple of hours, after which the finished surface shows a beautiful sheen, a mirror like polish, gorgeous luster, and a lot of variation and color. It brings out the depth and richness to the color and will be very smooth to the touch.

Common Application Mistakes And How To Avoid Them
Here are the most common errors when applying and burnishing Veneziano, with suggestions for fixing them.
-
Using a trowel that has imperfections. Run a finger down the edge before you start and sand the surface of both sides of your trowel until the metal is buttery smooth. Otherwise your finish will have lines or scratches from your tool.
-
An oversized trowel (16 to 18 inches) makes an even, hard burnish difficult. Use an 8 to 12 inch trowel you can handle comfortably.
-
Working an area larger than about 3 by 3 feet means the plaster dries before you can burnish it. Break the wall into small sections and finish the passes and the burnish one area at a time.
-
Too much material on the trowel. Veneziano dries fast on this coat. Use a spatula to load small amounts onto the trowel.
-
Setting the trowel down flat on your wall leaves a line in the finished movement. Dab a little material down first, then trowel it out.
-
Burnishing while still wet This can crack or peel the surface. Wait until your wall is no longer sticky, then burnish it gently. Heavy pressure is not required.
-
Waiting too long If you wait too long the plaster will fully dry and will not take a shine with burnishing. Apply another very thin pass over that spot and catch the burnish window on the new pass.
Aftercare, Wax, And Color Choices
After a couple of hours the wall will dry, producing a burnished Veneziano that is very smooth to the touch and shows a mirror like polish with strong luster and rich color depth. The result is a marble-like appearance. The burnish itself creates the sheen. Wax is not required to produce the polish but can add extra protection and sheen if you choose to add it.
Natural wax or protective sealers can enhance the finish and durability of venetian plaster. If a little extra shine is wanted, a thin coat of Vasari Wax is an optional finishing choice. For ongoing maintenance, cleaning venetian plaster requires only a damp cloth. Avoid abrasive cleaners. The waxed surface holds up well in high traffic areas and performs equally on interior walls in living rooms, hallways, or ceilings.
Vasari offers 180 exclusive colors that can all be burnished with this same application technique. Whether you want a warmer tone for bedroom walls or something bolder for a feature surface, every color we offer will work. You do not need to buy from retail stores that carry generic paint. We ship material directly to you. Readers unsure about color or sheen should request guidance from Vasari Lime Plaster & Paint and make small sample boards before committing to a full room. We offer technical advise by email (orders@vasariplaster.com) or phone (805) 677-8454, Monday through Friday from 8:00-4:00, or reach out to make an appointment and come in to see, touch and smell our products in person at our warehouse in Ventura, California. We also have a showroom in New York.
FAQ
How Many Coats Of Venetian Plaster Do You Need?
A burnished Veneziano finish starts with two coats already on the wall: a first coat that dries completely, then a second coat applied nice and smooth without burnishing. The mirror sheen comes from the third very thin final passes over those base coats plus the burnish.
What Size Trowel Is Best For Burnishing?
An 8 to 12 inch trowel is ideal, giving control and enough pressure without straining the arm or shoulder. Trowels of 16 to 18 inches are harder to press evenly, and trowels under 8 inches make it difficult to chase and polish an area efficiently.
How Long Do You Wait Before Burnishing?
The plaster should be no longer wet or sticky but not fully dry. If it is too wet, wait a couple of minutes. If it is too dry and nothing happens, apply another thin pass and try again.
Why Is My Plaster Not Taking A Shine?
A dull result usually means the plaster was too dry when burnished, or the passes were not thin and tight enough to compact. The remedy: apply a very thin new pass of Veneziano, wait until it is no longer sticky, then burnish with a clean, smooth-edged trowel using steady light pressure.
Do You Need To Wax Veneziano?
Wax is not required. A properly burnished Veneziano wall already has a beautiful sheen, a mirror like polish, and a very smooth feel once it has dried a couple of hours. Vasari Wax can be applied lightly if a little more shine is wanted. It is an optional finishing choice, not a necessity.


